How DO I Wash My Car?
Many of us enjoy the benefits of a freshly hand washed car. However, without proper knowledge you may be doing more harm than good. Washing a car improperly will induce micro-marring known as swirls or spider-webbing.
The cause of this damage is due to foreign particles trapped in your washing materials. This can happen several ways, such as:
- Improper storage of materials when not in use
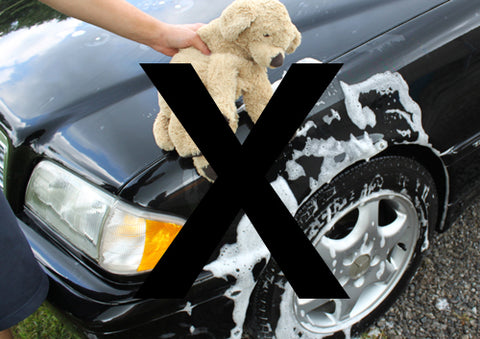
- Improper materials such as using Dishsoap* (See bottom note), old T-Shirts etc.
- Improper washing techniques which lead to further damage in the drying stage
Materials
The following materials are recommended for proper washing:
- Two regular wash buckets or a single bucket with a Grit Guard Bottom
- A 100% Sheepskin Wash Mitt, a Cotton Chenille Mitt
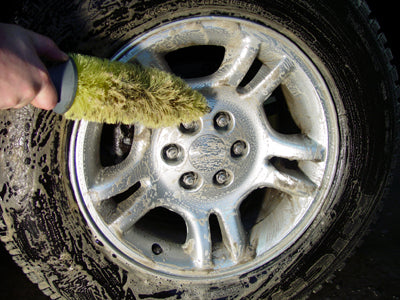
- A Sponge or Terry Towel for wheels.
- Quality car wash soap/shampoo( Griot's Garage Car Wash, Chemical Guys Mr. Pink, Sonax Car Shampoo)
Procedure
STEP 1
When washing a car try to do it in an atmosphere where the paint surface is not hot to the touch. Shade or garages are the best locations. Overly high temperatures cause the water and soaps to evaporate too quickly, not giving them a chance to remove the necessary dirt particles.

If possible work from top to bottom in a downward angle.
STEP 2
Start by thoroughly spraying the entire vehicle with a nozzled hose or pressure washer. Pay particular attention to heavily soiled areas, trying to remove as much dirt as possible in this stage.
STEP 3
Use a Soap/Shampoo specifically designed for washing automotive paints. These Soaps/Shampoos have special oils and lubricants in them that are specially designed to lift and remove foreign particles. These Soaps/Shampoos are also very low on the PH scale and will not strip previous waxes.
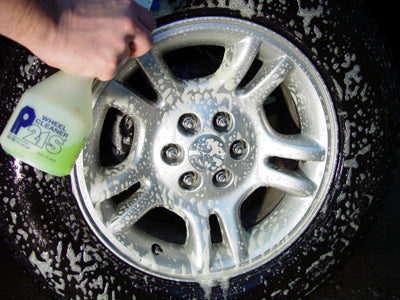
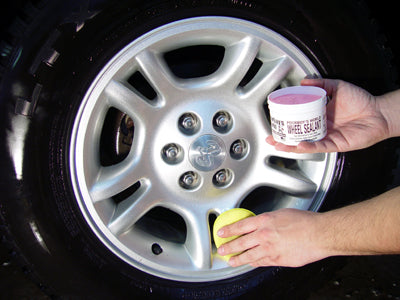
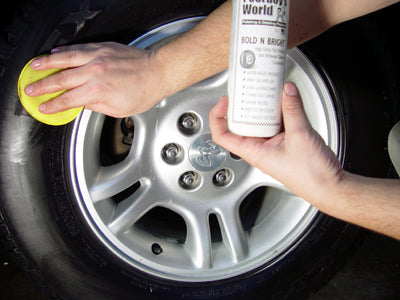
STEP 4
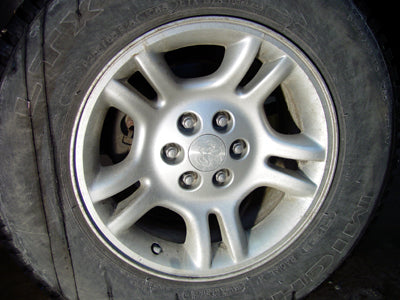
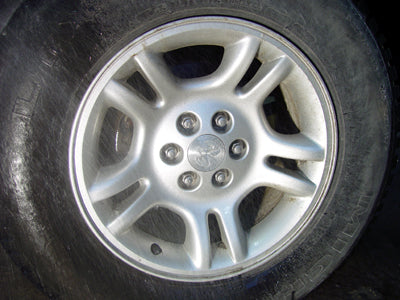
Start by washing the wheels, this will prevent any brake dust, or harsh wheel cleaners from contaminating a freshly washed panel.
STEP 5
By using two buckets you greatly reduce the possibility of tracking dirt into your wash mitt. Your soapy water will also stay much cleaner.

Simply fill one bucket with your soap/water mixture and the other bucket with just water.

After every application of soap/water dip and shake the wash mitt in the water bucket. This will loosen and clean the wash mitt BEFORE applying more soap/water to the mitt. The Soap/Shampoo solution will stay much cleaner and the majority of dirt will stay in the water bucket. You can also use a special Grit Guard Bottom. These provide a screen or false floor in the bottom where loose particles fall beneath. This makes it impossible to come in contact with these particles when re-entering the wash bucket for more soap.
STEP 6
Scrub the vehicle from top to bottom, try to follow the contours of the vehicle or any distinct body lines.

By doing this, mishaps are much less noticeable. By washing in a circular motion any mishaps will be visible at all angles and much more noticeable. Rinse often! After every application of soap, rinse the vehicle before going back for more soap.
STEP 7
After you are finished washing, do a final rinse on the entire vehicle. For the final rinse remove the hose nozzle. Start from top to bottom, and with the flowing water inches away from the surface, sheet off any remaining or misses of debris/soap.

This sheeting rinse will pull materials down and leave much less water on the surface. There will be little water beading with this technique making it much easier and quicker to dry.
|
Example of sheeting water |
Example of beading water |


*NOTE: Using dish soap regularly to wash a vehicle will strip your protective waxes. The high acidity will also dry out any plastic/rubber trim over time. However, there is a certain time you DO want to use a dish soap! There are times you would like to strip off your current waxes and try a new product. Dish soap will remove these waxes and leave your paint surface bare and ready for another wax application or polish. Dish soap will not remove synthetic waxes such as Klasse.